Step 6. Install and activate the panel
Everything in this step is done inside the virtual machine.
There are two ways to install the panel: automatically through CruxSetup, or by hand. The first is faster and installs Steam and a browser along the way.
Move CruxSetup.exe, downloaded in Step 1, to the virtual machine (how to move it - see Step 5), run it as administrator and open Install software.
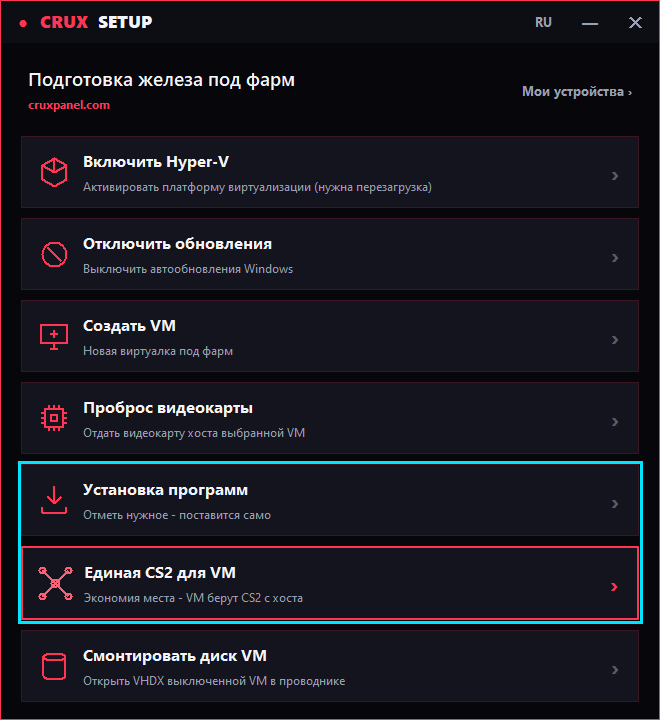
Tick what you need and press INSTALL.
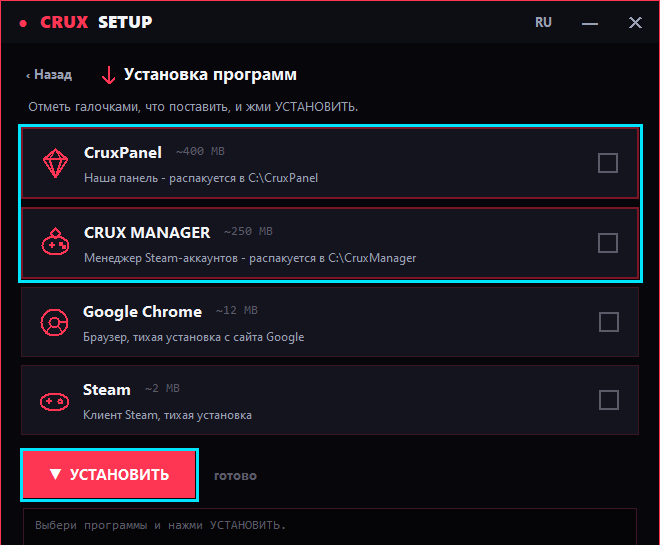
| Program | Where it goes |
|---|---|
| CruxPanel | C:\CruxPanel + a desktop shortcut |
| CRUX MANAGER | C:\CruxManager (a separate subscription, see CRUX MANAGER) |
| Google Chrome | its usual location, silent install |
| Steam | its usual location, silent install |
Everything is downloaded from the vendors' own sites at install time, so the versions are always current. Progress is shown in the console below.
Steam is on the list in case the machine does not have it yet. If it is already installed, leave the box unticked.
-
Open the @CruxPanels_bot and press "Download" and choose FARM PANEL (available with an active subscription).
-
Move the archive to the virtual machine (see Step 5).
- Extract the archive to the root of drive C: (
This PC → Local Disk (C:)).
Prepare your data
In the extracted folder:
- Open
accounts.txtand add accounts inLOGIN:PASSWORDformat - one per line. -
Open the
mfsfolder and drop in your account maFiles.About maFiles
The panel will convert the maFiles to the right format itself - all you need is for them to be without a password. You can remove the password in your SDA.
Activate the panel
- Launch the panel.
-
Enter the activation key you received after buying the subscription in the bot, and click "Activate".
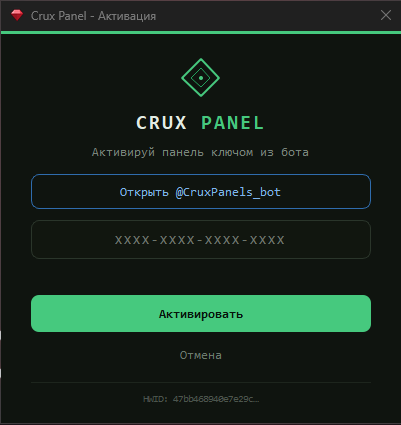
Subscription activated
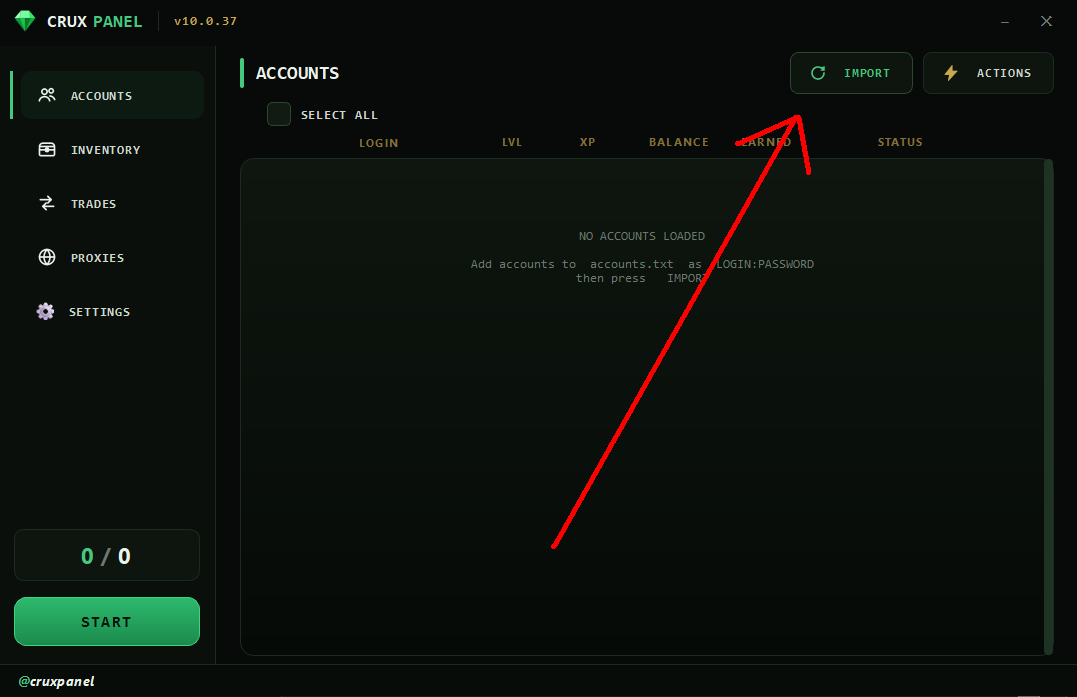
The panel is running. Press the IMPORT button to load your accounts.
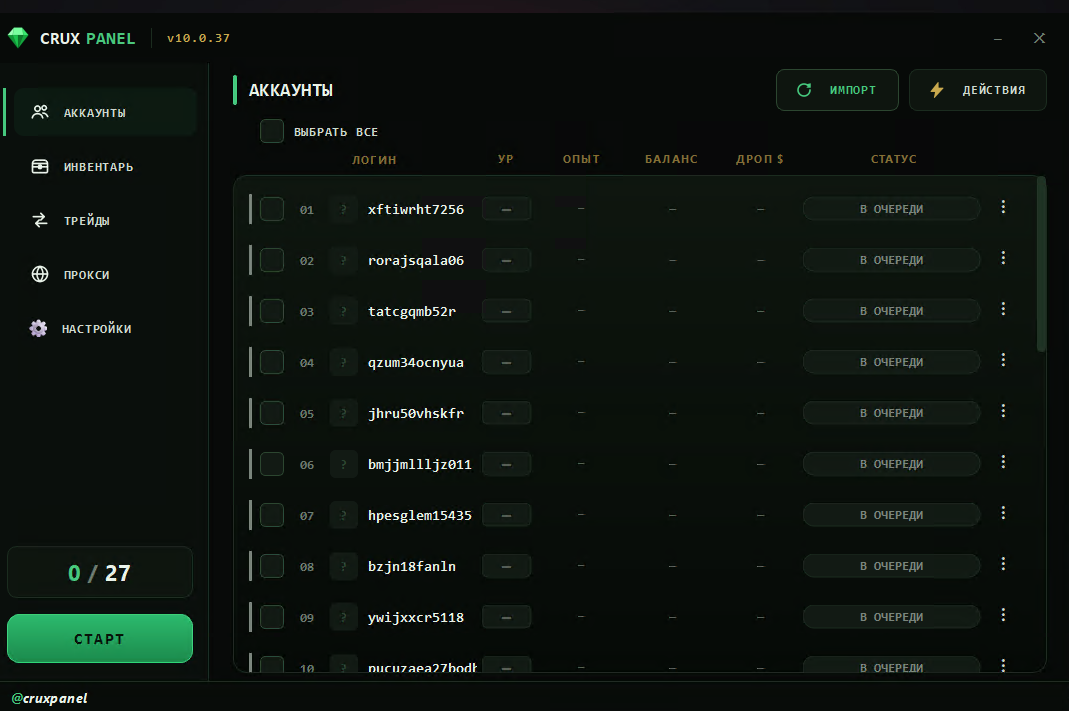
You can switch the language to Russian via ACTIONS → SWITCH TO RUSSIAN (and back to English the same way).
If everything was done correctly, the accounts load with the "IN QUEUE" status.
All that's left is to configure the panel before farming.