Step 3. Create the virtual machine
Creating the VM is fully automated - you just answer a few questions.
Start the creation
Open CruxSetup.exe, click the Create VM tab and enter the parameters one by one (or click Run to accept the defaults):
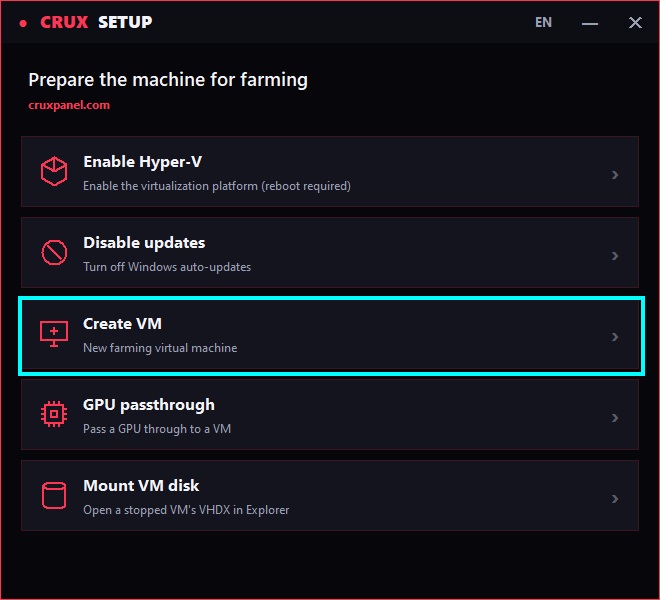
| Parameter | Recommendation | Default |
|---|---|---|
| VM name | any name you like | filled in automatically |
| RAM | 8192 MB per VM |
6144 MB (if RAM is tight) |
| Disk size | at least 100 GB |
100 GB |
| Virtual CPUs | based on your CPU power (8-10 recommended) | 6 (minimum) |
| System image | point to the downloaded CruxPanel_Win11.iso |
- |
After you enter the parameters, the VM is created and its window opens. When the corresponding message appears inside the window, press any key and the Windows installation will begin.
Windows installation
From here it's a standard Windows install.
-
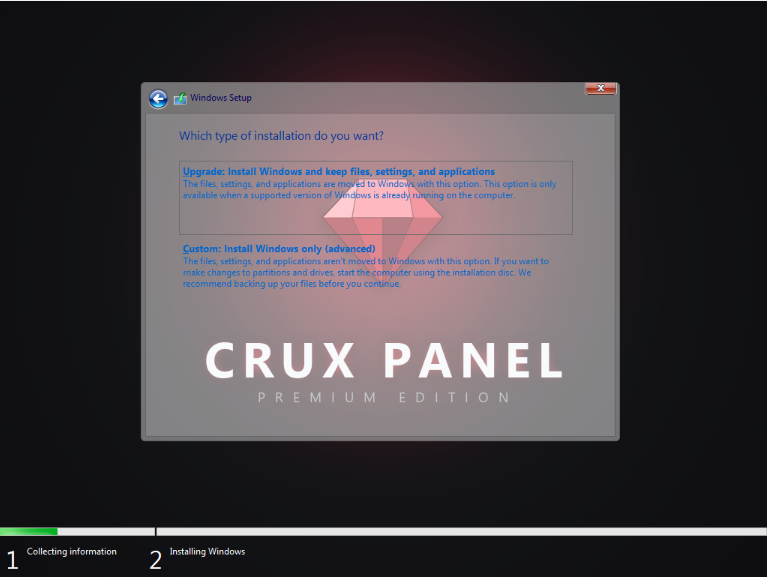
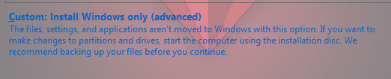
When this screen appears, choose the second option, "Custom: Install Windows only".
-
Select the disk and click Next. Wait for the installation to finish.
-
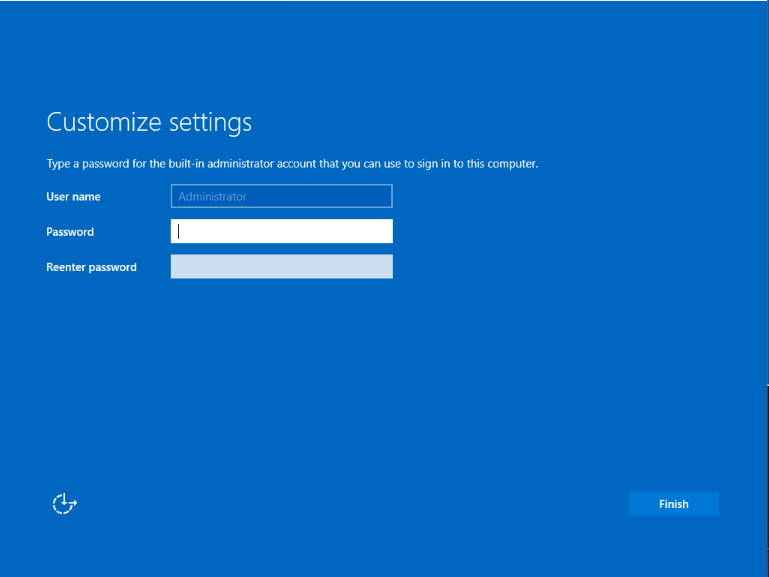
On the final screen you can skip the password - just click Finish.
Done
The virtual machine is created and Windows is installed. Now let's pass the GPU through to it.